Easy Crochet Coaster Pattern for Beginners
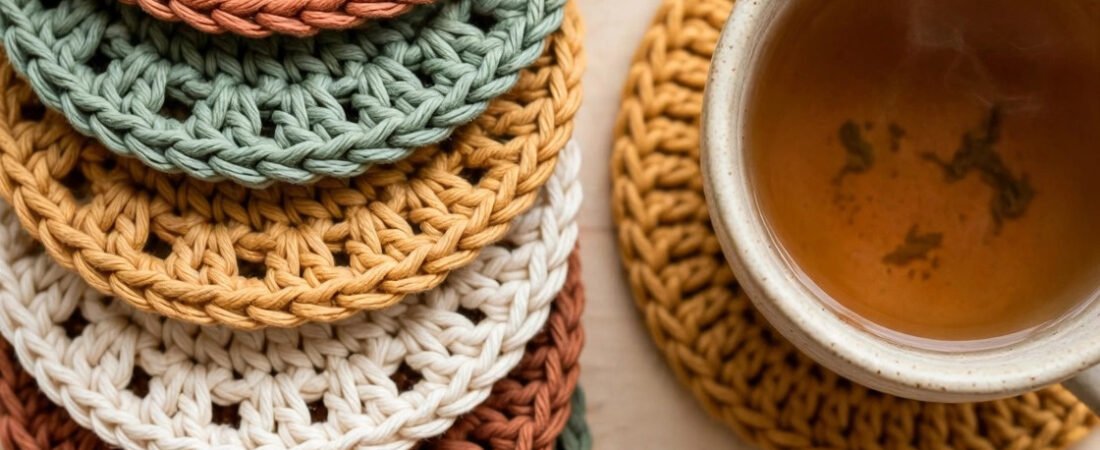
If you are looking for a quick crochet coaster pattern that teaches you real skills while you make something useful, this is the perfect first project. A classic crochet coaster is simply a flat circle worked in double crochet, finished with one neat round of single crochet edging. There are no tricky stitches, no shaping to guess at and no long commitment: most beginners finish their first coaster in under an hour, and by the end you will know how to work in the round, increase evenly and keep a circle lying perfectly flat.
New to working step by step? Try our Easy Crochet Granny Square Pattern for Beginners too, and browse more table and home projects in our Kitchen & Bath Crochet category. Squares and circles are the two foundations of crochet — this coaster teaches you the circle.
Why Beginners Love This Crochet Coaster Pattern
Every round follows one calm, predictable rule: each double crochet round adds exactly twelve stitches, spread evenly around the circle. Once you understand that rule, you never have to wonder where the increases go, and you can even make your circle bigger or smaller on purpose.
Coasters are also forgiving and practical. A small tension wobble just looks handmade, one coaster uses very little yarn, and a finished set makes a lovely gift you can complete the same day you start it.
Materials and Tools
- Worsted weight (medium, size 4) cotton yarn. Cotton is the best choice for coasters because it absorbs drips, protects surfaces from heat and stays flat.
- 5.0 mm (US H-8) crochet hook.
- Yarn needle with a large eye, for weaving in ends.
- Small scissors.
- Stitch marker or safety pin (optional), to mark the first stitch of each round.
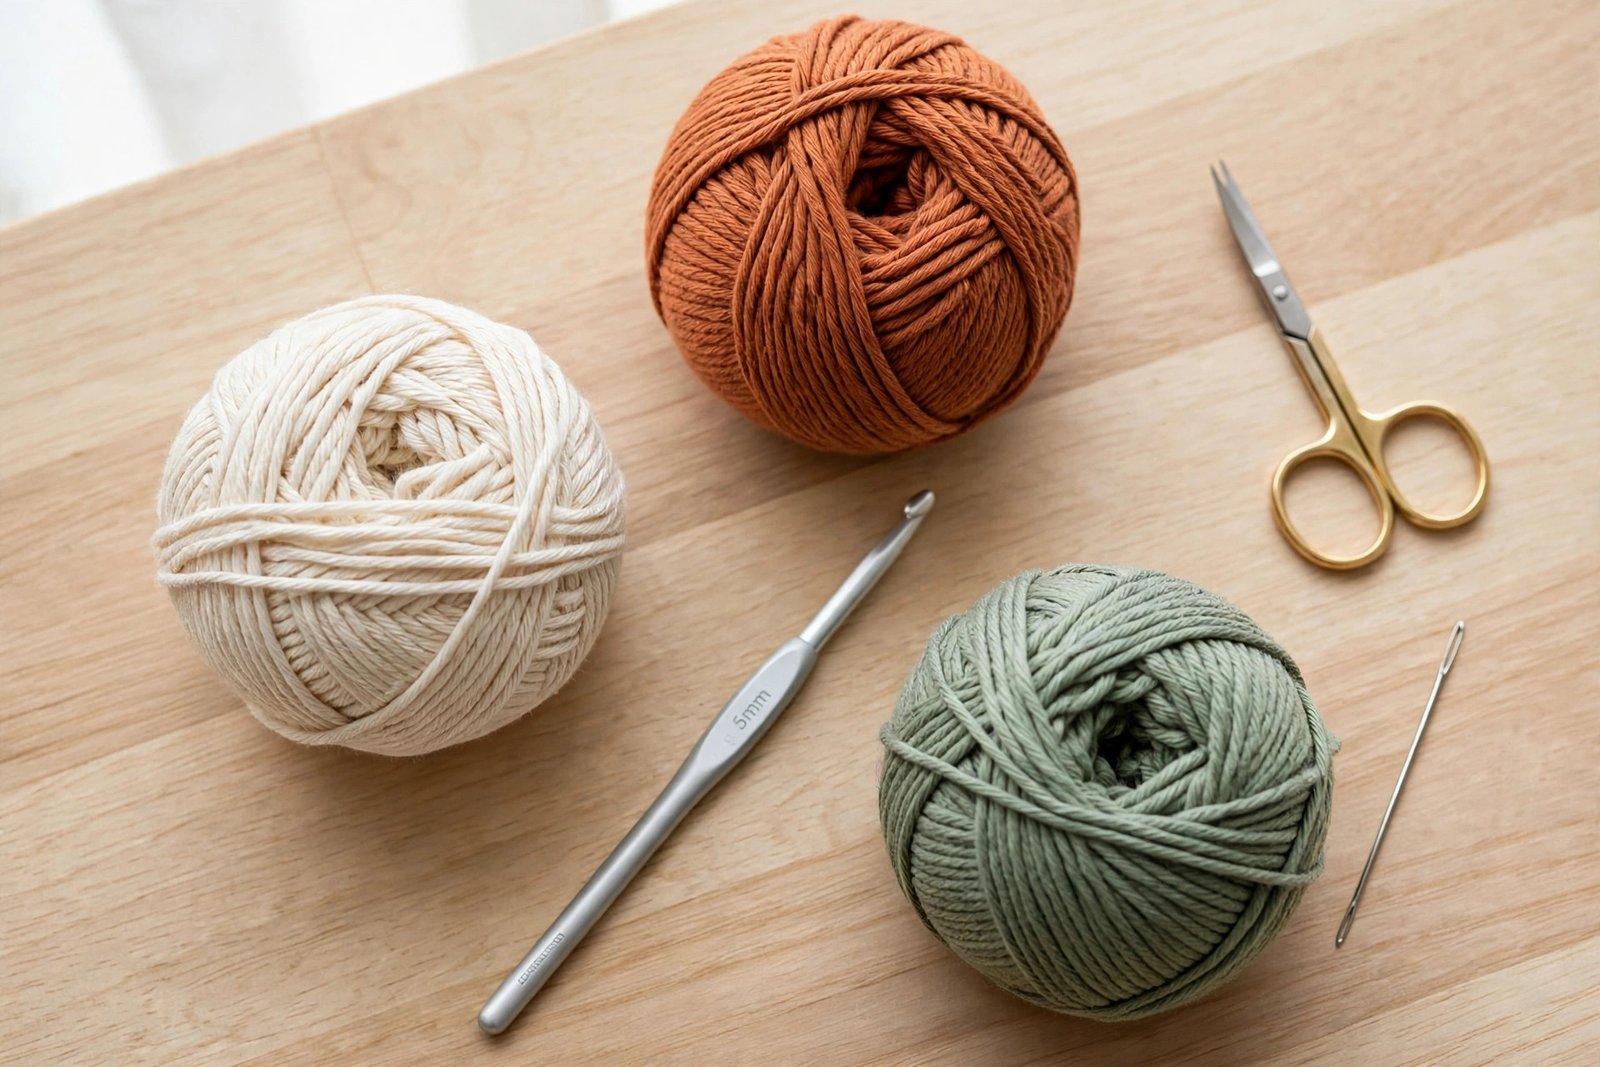
For your first coaster, choose a smooth yarn in a light colour: it lets you see every stitch clearly, which makes counting much easier.
Finished Size and Pattern Notes
With worsted cotton yarn and a 5.0 mm hook, the finished coaster measures approximately 4 to 4.5 inches (about 10 to 11.5 cm) across, a good size for mugs and glasses. Your coaster may finish a little larger or smaller depending on your tension, and that is perfectly fine.
Gauge is not critical for this project. What matters is that the circle lies flat. The pattern begins with a magic ring; if you prefer, chain 4 and slip stitch to the first chain to form a ring instead, then work Round 1 into that ring for exactly the same stitch count.
US Crochet Abbreviations
- ch – chain
- sl st – slip stitch
- dc – double crochet
- sc – single crochet
- inc – increase (work 2 stitches into the same stitch)
- st – stitch
- rep – repeat
- * – repeat from this point as directed
This pattern uses US terms throughout. In UK terms, a US double crochet is called a treble crochet, and a US single crochet is called a double crochet.
Step-by-Step Coaster: Rounds 1 to 5
Work with the same side facing you throughout; do not turn your work at the end of rounds. Place a marker in the first stitch of each round if it helps you find the joining stitch.
Round 1 — The Centre Circle
Make a magic ring. Chain 3 (counts as first double crochet), work 11 double crochet into the ring, pull the tail gently to close the ring, slip stitch to the top of the beginning chain-3 to join. Stitch count: 12 double crochet.
Round 2 — An Increase in Every Stitch
Chain 3 (counts as first double crochet), work 1 more double crochet in the same stitch, work 2 double crochet in each of the next 11 stitches, slip stitch to the top of the beginning chain-3 to join. Stitch count: 24 double crochet (2 double crochet in every stitch).
Round 3 — Double Crochet, Then Increase
Chain 3 (counts as first double crochet), work 2 double crochet in the next stitch, *double crochet in the next stitch, work 2 double crochet in the next stitch; repeat from * 10 more times, slip stitch to the top of the beginning chain-3 to join. Stitch count: 36 double crochet ((double crochet, increase) repeated 12 times).
Round 4 — Two Stitches, Then Increase
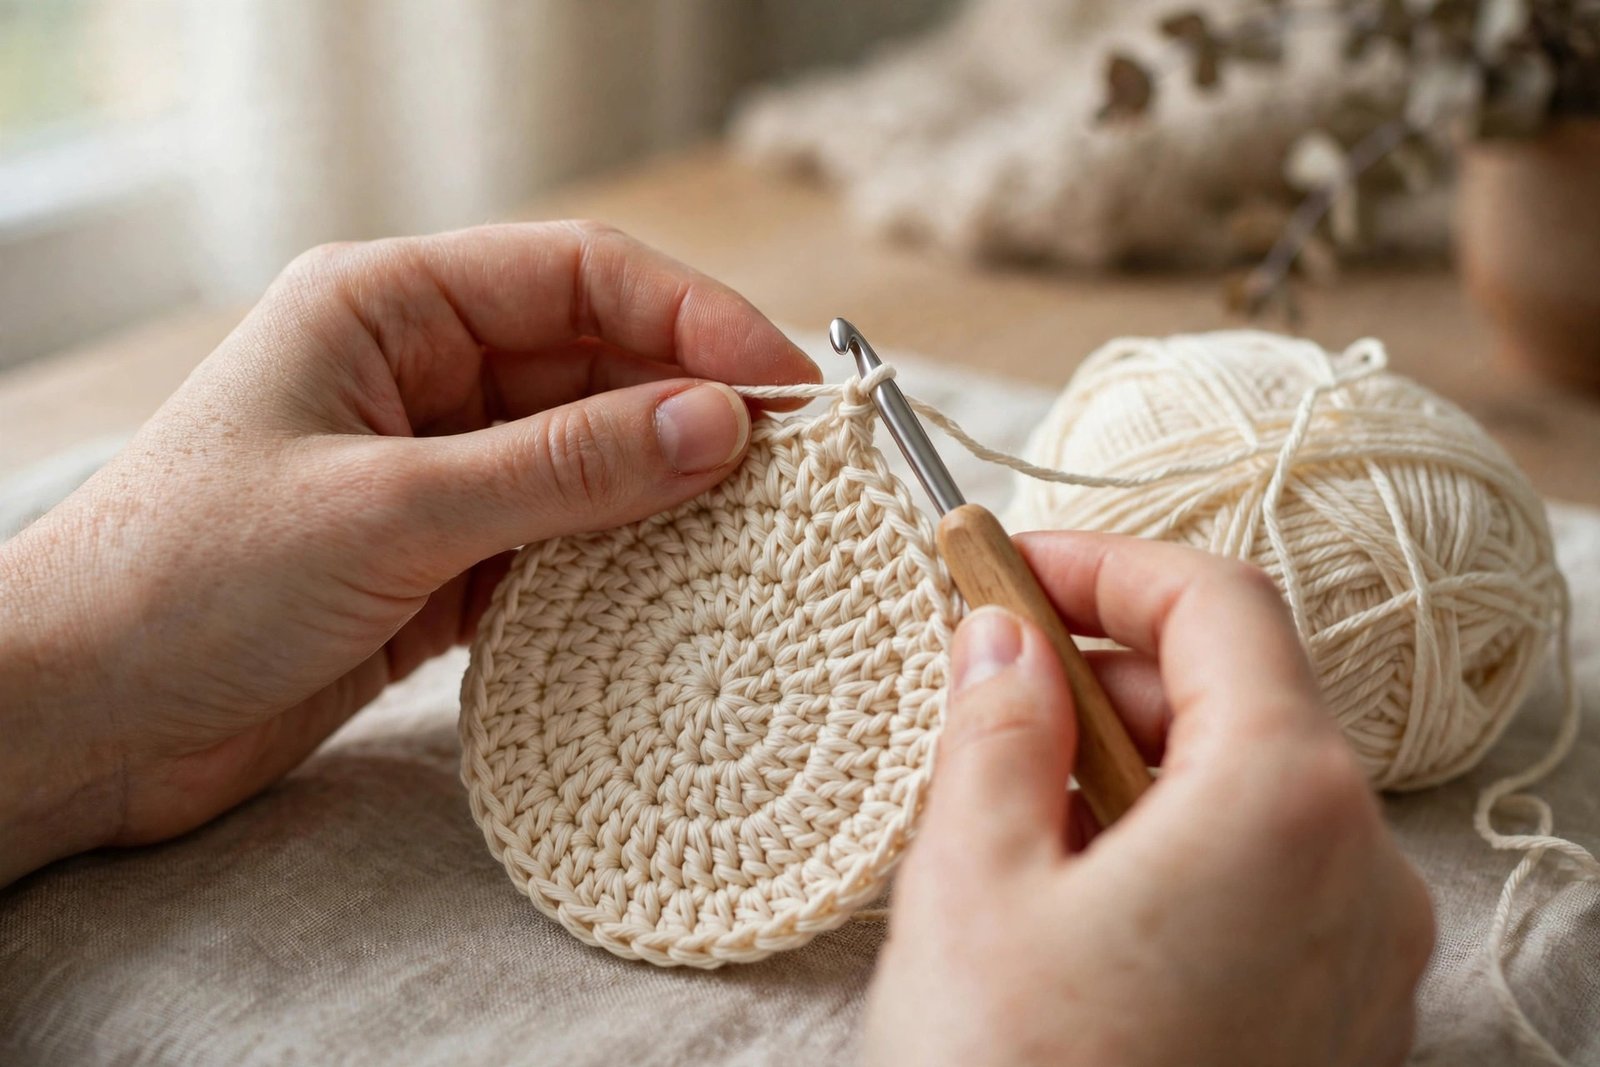
Chain 3 (counts as first double crochet), double crochet in the next stitch, work 2 double crochet in the next stitch, *double crochet in each of the next 2 stitches, work 2 double crochet in the next stitch; repeat from * 10 more times, slip stitch to the top of the beginning chain-3 to join. Stitch count: 48 double crochet ((double crochet in next 2 stitches, increase) repeated 12 times).
Round 5 — Single Crochet Edging
Chain 1 (does not count as a stitch), single crochet in the same stitch and in each stitch around, slip stitch to the first single crochet to join. Fasten off and weave in the ends. Stitch count: 48 single crochet.
If the centre hole has loosened, pull the magic ring tail gently once more, then weave in both ends securely, working back and forth so they cannot work loose in the wash.
Tips for a Perfectly Flat Coaster
Follow the Flat Circle Rule
A flat double crochet circle starting with 12 stitches grows by 12 stitches every round: 12, 24, 36, 48. Each new round simply adds one plain double crochet before each increase: (dc, inc), then (2 dc, inc), then (3 dc, inc). If you ever lose count, that sequence tells you exactly where you are.
Curling and Wavy Edges
If your coaster curls up into a little bowl, the edge is too tight: you have probably missed some increases, or your tension is firm, so try a hook one size larger. If the edge waves like a ruffle, there are too many stitches, so check for accidental double increases in one stitch.
Block for a Professional Finish
Blocking makes a good coaster look great. Lay it flat, shape it into a neat circle with your fingers, mist it lightly with water, and leave it to dry completely. Cotton responds especially well and keeps its crisp, flat shape.
Cotton Versus Acrylic
Cotton is the clear winner for coasters that will meet hot mugs. It absorbs moisture, handles heat well and does not stretch out of shape. Acrylic coasters look pretty and work for cold drinks, but acrylic can soften with heat and does not absorb drips, so save it for decorative mats instead.
5 Ways to Use and Vary Your Coasters
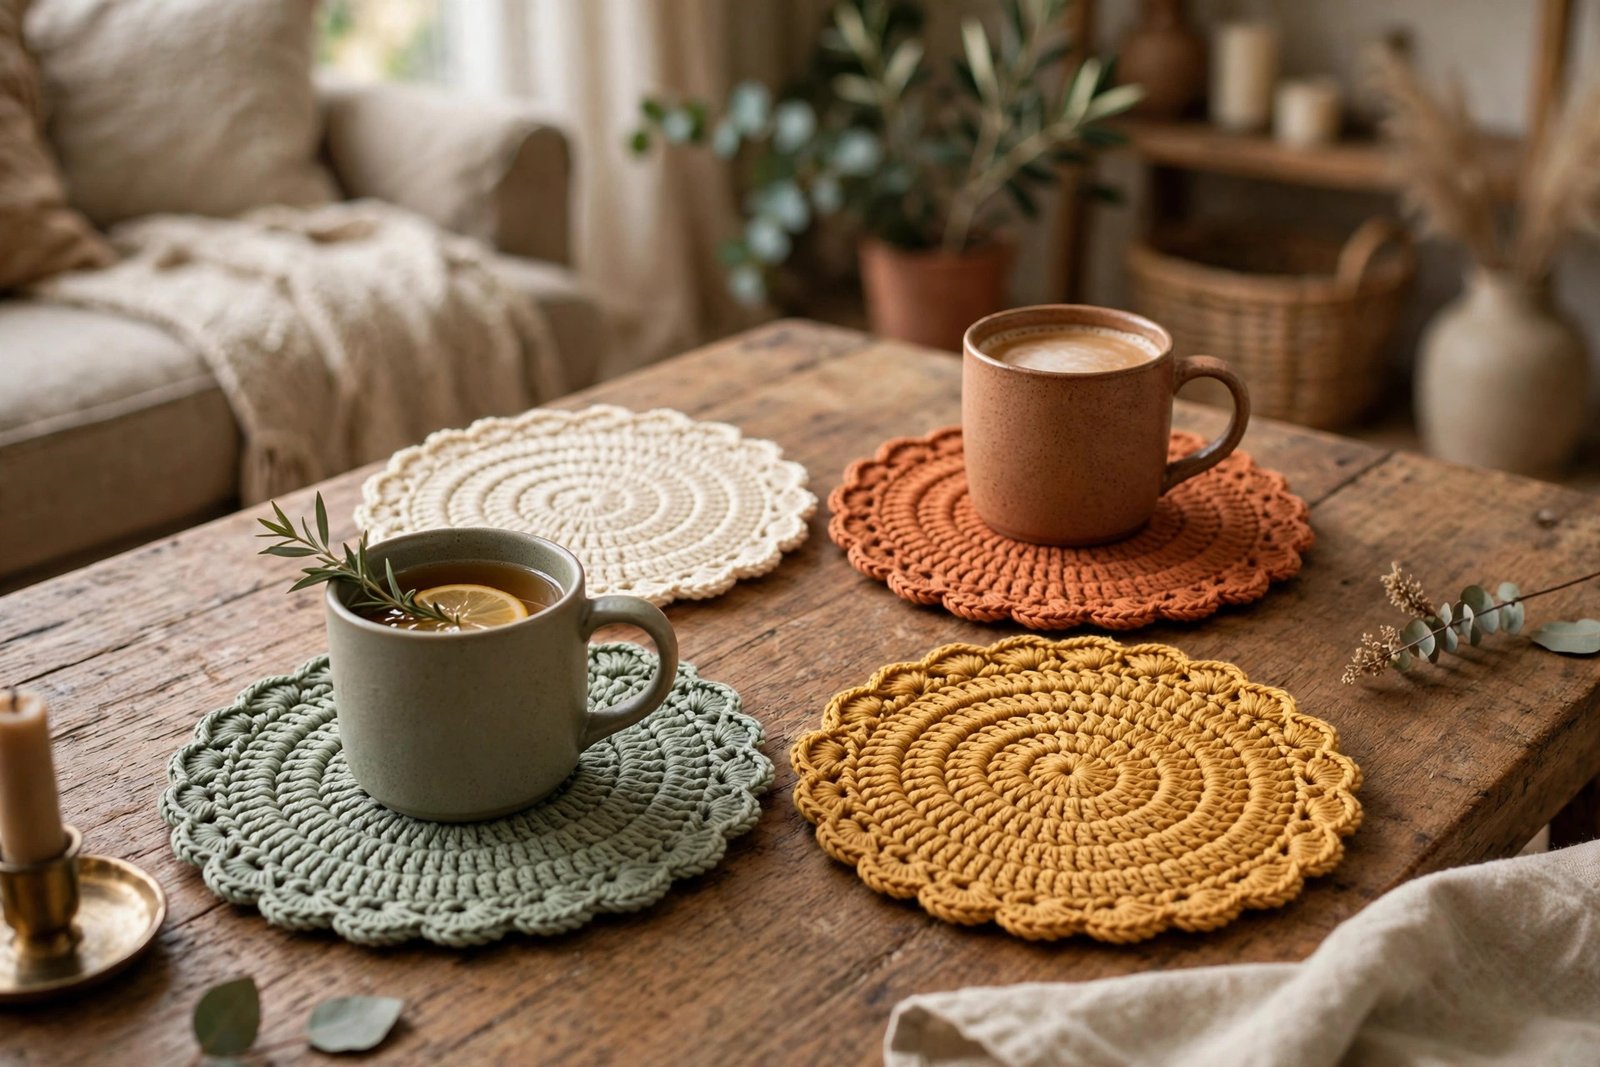
- Mug rug gift sets: make four to six in matching colours and tie them with a ribbon for a handmade gift.
- Two-tone coasters: change colour on Round 4, or work the edging round in a contrast shade for a smart border.
- Bigger mats and trivets: keep adding rounds with the flat circle rule, (3 dc, inc), then (4 dc, inc), to grow a table mat.
- Plant and candle mats: slide one under a plant pot or candle jar to protect tables in style.
- Seasonal sets: work the same pattern in festive or pastel colours for holidays, weddings and housewarmings.
Frequently Asked Questions
Why is my coaster curling into a bowl?
Bowl shapes mean the outside rounds are not growing fast enough. Count your stitches at the end of each round; the totals should read 12, 24, 36 and 48. A slightly larger hook also helps tight crocheters.
Why are the edges of my coaster wavy?
Wavy edges mean too many stitches. The most common causes are increasing in the same stitch twice, or working into the joining slip stitch by mistake. Counting the final stitch total of each round catches both.
What is the best yarn for crochet coasters?
Worsted weight cotton is best. It is absorbent, heat friendly, sturdy in the wash and holds a flat shape. Keep acrylic for coasters that will only sit under cold drinks.
Can I make my coaster bigger or smaller?
Yes. For a bigger coaster or mat, continue the rule: the next round is (dc in the next 3 stitches, inc) repeated, giving 60 stitches. For a smaller one, stop after Round 4 and work the edging round.
How much yarn does one coaster use?
Very little — a small handful of worsted yarn, so coasters are perfect for using up leftovers. A single 50 gram ball of cotton makes several coasters.
Get the Free PDF and Visit Our Shop
Download this pattern as a free printable PDF here: Download the free Crochet Coaster Pattern PDF.
Ready for a bigger project? Visit our OZ Crochet Patterns Etsy shop and save 50 percent with the code OZCROCHETSALE. A perfect next project is our Alpine Blanket Crochet Pattern, an easy textured throw that grows from the same simple stitches. Learn more about our designer on our About Us page. Happy crocheting!